
How I Built a Full Store on Substack (No Gumroad required)
This Changes the Game for Monetizing Substack

A few days into my Substack journey I asked if I was crazy for betting everything on Substack. No Facebook Groups, no Skool, no Gumroad, no Ko-Fi. Just Substack and some YouTube tutorials to show my work.
The next day I doubled down: I said I’d never put my posts behind a paywall. Everything stays free, forever.
My plan was simple: sell DIY products for solos who want to build it themselves and offer done-for-you systems for clients who want a full service solution.
But right out of the gate I hit a brick wall: how do you actually sell (and deliver) digital products without using a second platform like Gumroad, Ko-Fi, Stan Store or Payhip?
I refused to accept that as our fate.
I AM OVER THE MOON EXCITED ABOUT THIS AND HERE’S WHY:
This just opened the gate to selling directly on Substack without a third party platform taking a cut. Gumroad takes 10%, my system takes nothing. Poof! The middle man is gone.
💡 The Stripe Pop-Up Hack
After some digging (and a lot of f’ing around with things), I realized Substack already runs on Stripe, so why not tap that directly? It’s native within the app, Substack writers already have it and in theory it should work. 🙏🏻
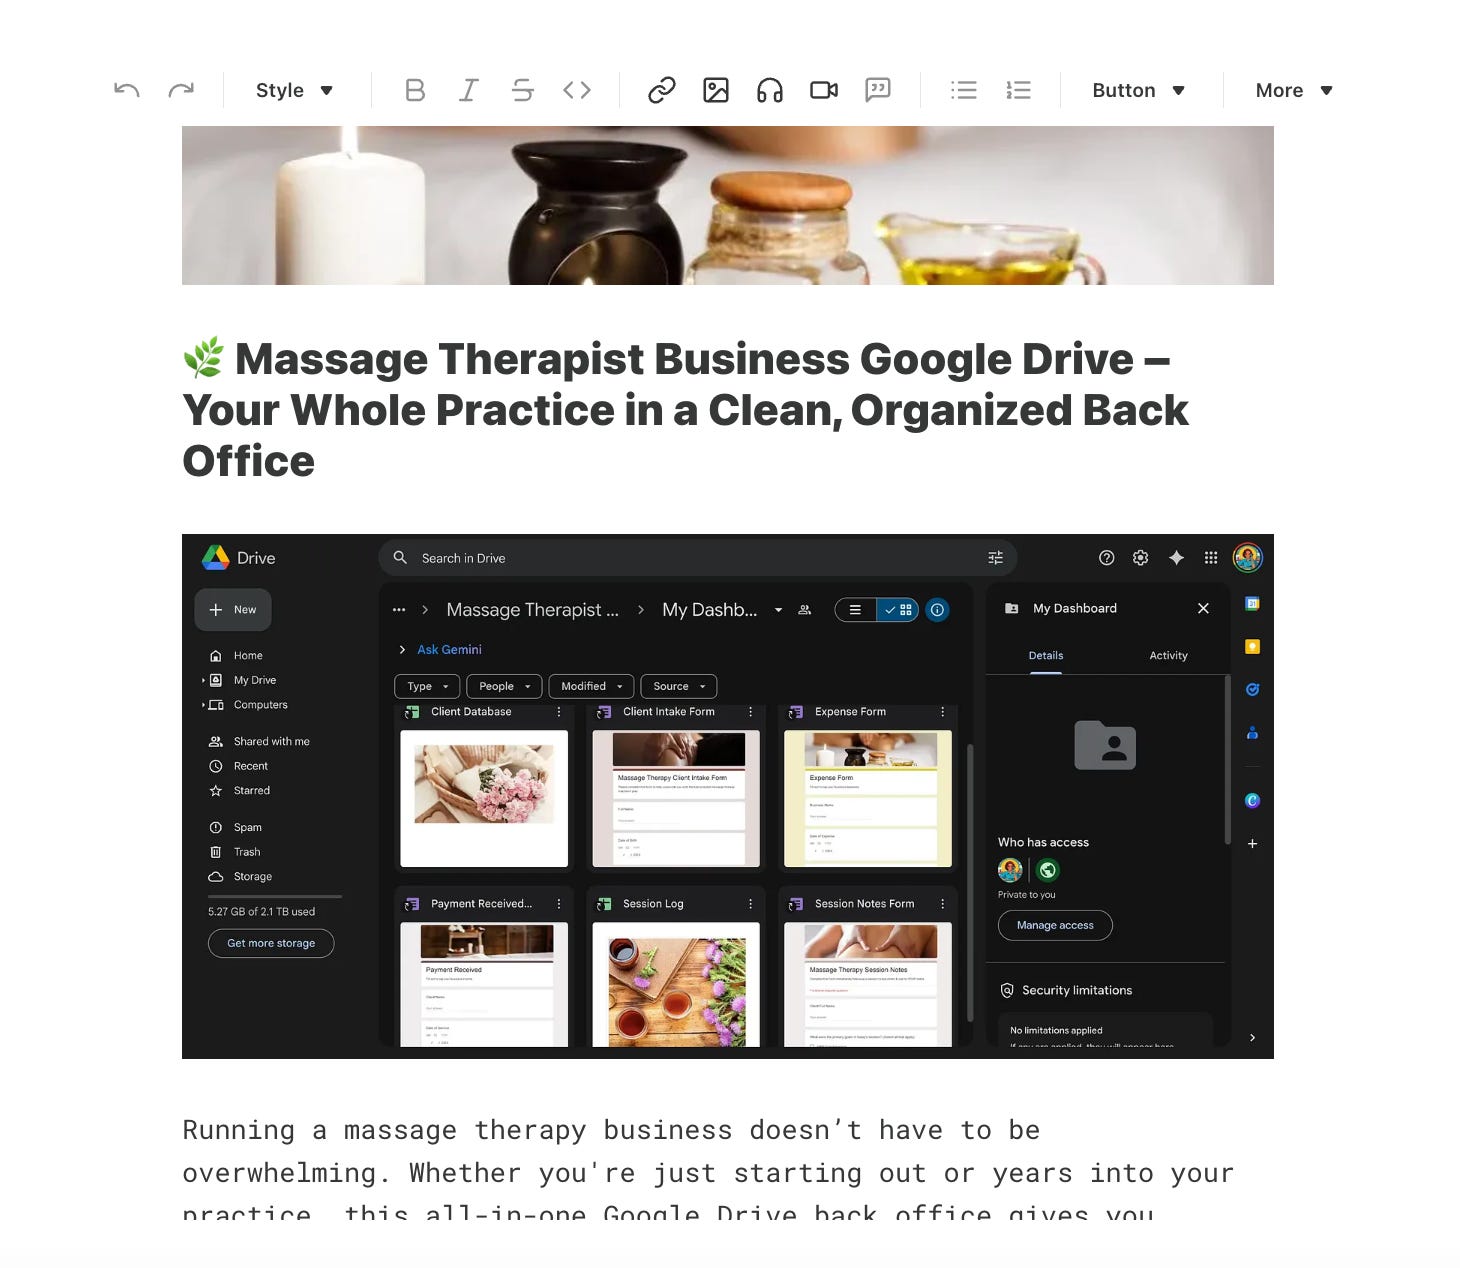
The Product Page - Step 1
I started by building a quick product landing page. I had a couple of digital products already set up on Gumroad and just copy/pasted a listing over to a Substack custom page. You can access your custom pages in your publication under “Settings.”
Just click “add” and create the page the same way you do a post. Customize your landing page with text, images, video — all the details about your amazing offer.
Create Products in Stripe - Step 2
Then I headed over to my Stripe account and found the Product Catalog tab in the sidebar (I did all this on desktop, so mobile may be different.)
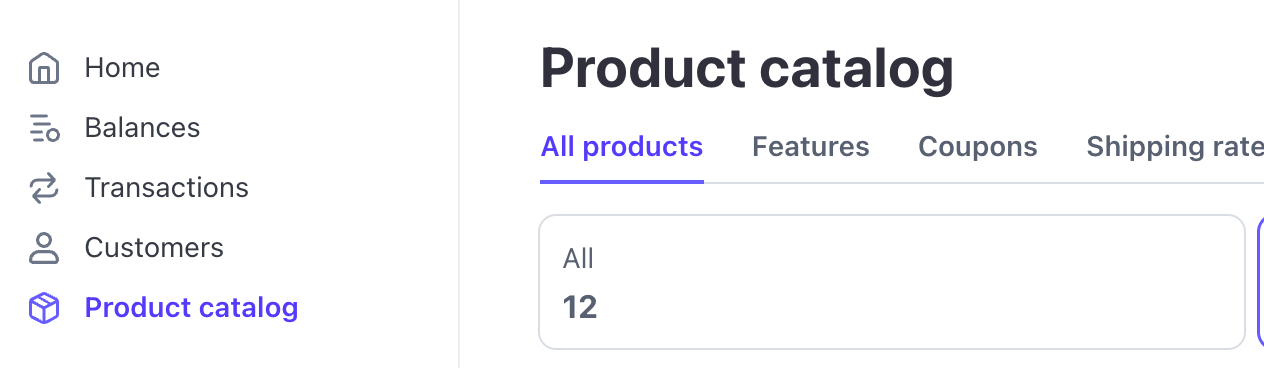
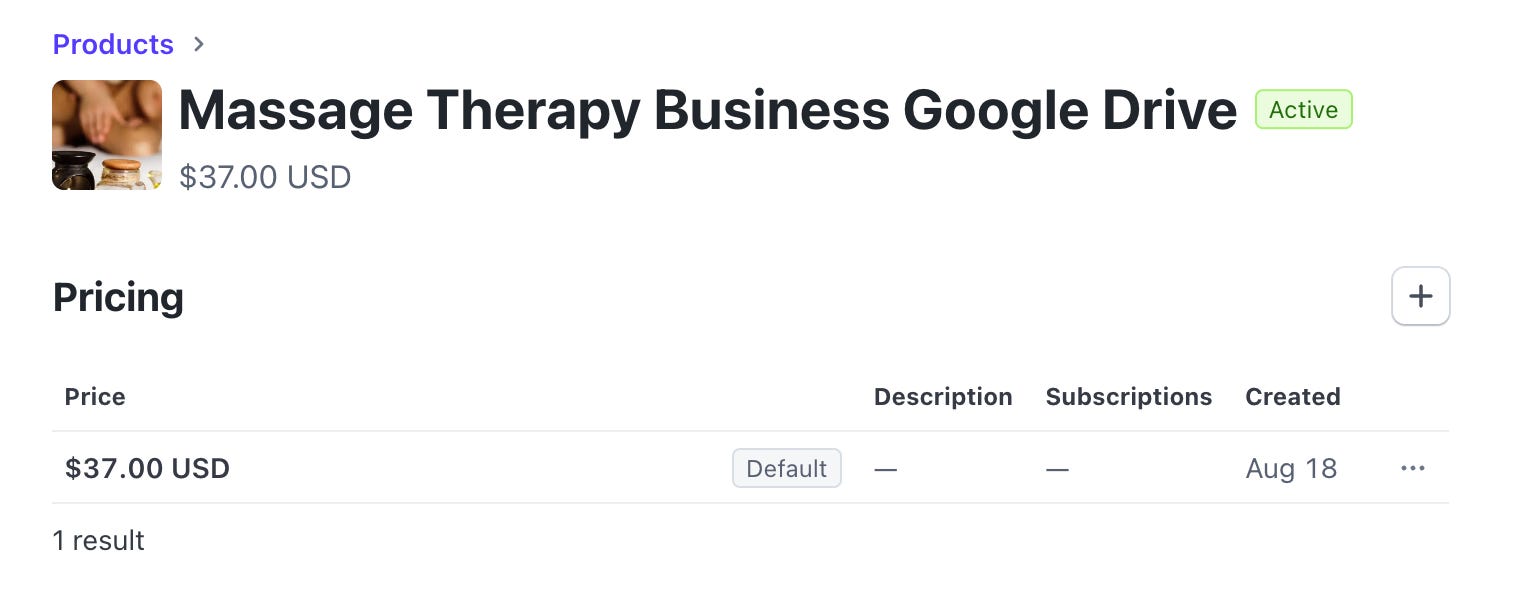
Click on “Create Product” and set it up. Enter in all the details for your product, set the price and add your thumbnail.
Create a Payment Link in Stripe - Step 3
Next, I went to “Payment Links” in the sidebar and clicked “New.” This opens the payment link dialogue box.
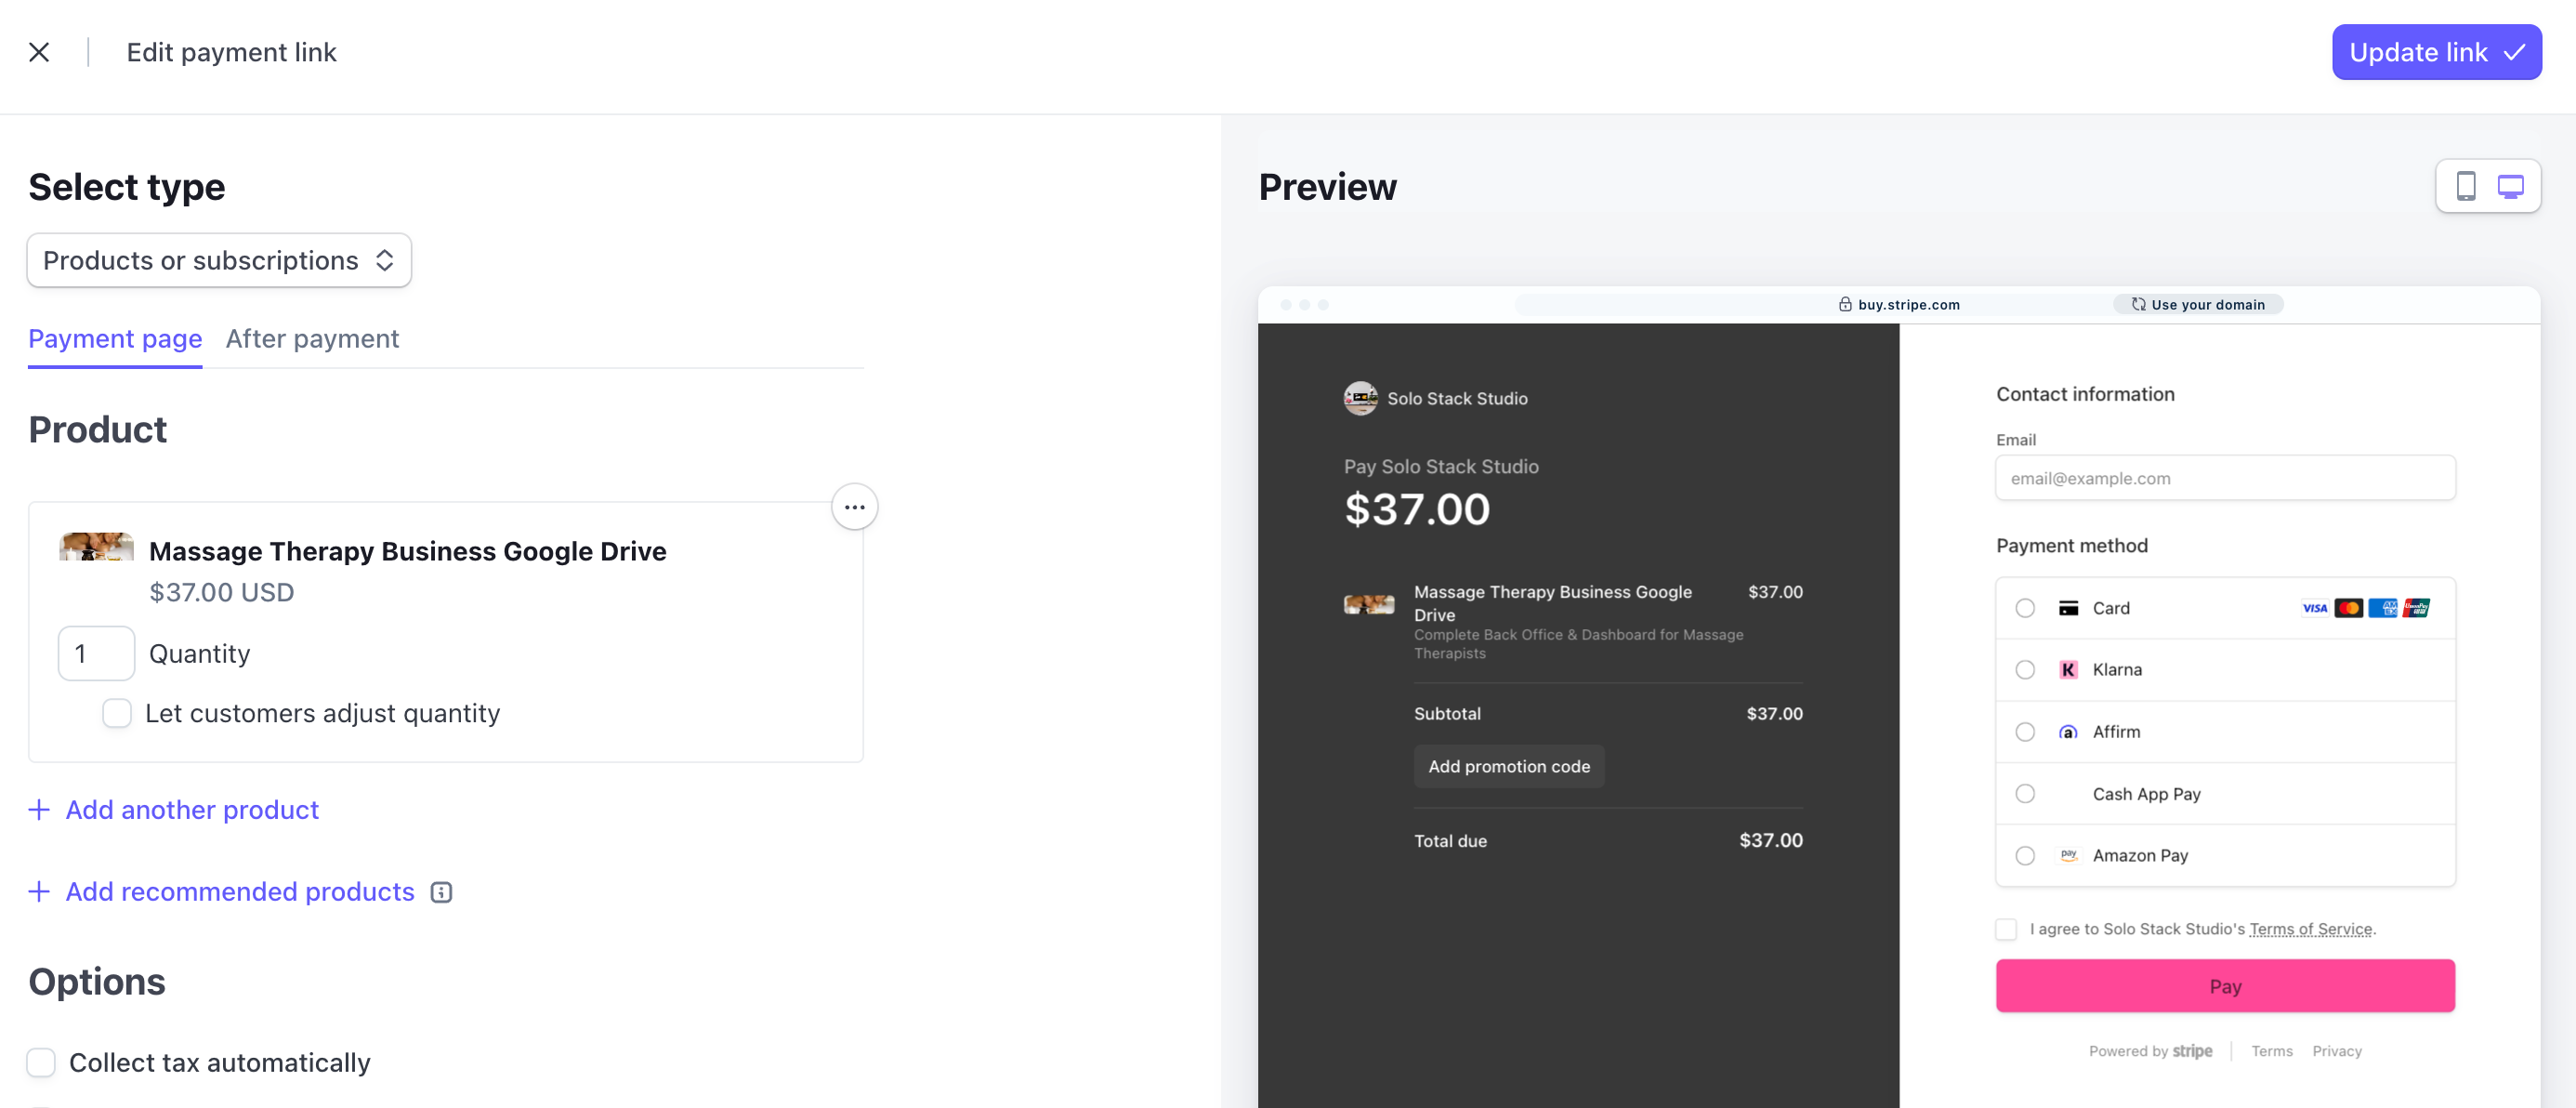
Select the product from the product list, this will tie the product to the link. It pulls it the pricing and thumbnail image from the product listing. You can add sales tax, promo codes, upsells and recommendations in this window.
NOTE: Notice that there are two tabs — payment and after payment. The after payment is where the real gold is. This will deliver your digital product automatically to the buyer.
On the After Payment tab select “don’t show confirmation,” use this to redirect to your download. I have all mine set up for free in Google Drive.
Set up Buy Buttons - Step 4
Copy the payment link for the product and head back over to the Substack product page you created. Insert a custom button (click on the button pull down in the toolbar and “custom” is the last option) and insert the payment link as the URL. Add “Buy Now” or “Get This” or whatever you want the button to say and save.

My button is live for checkout!
It works in the Substack app and desktop. I even tested coupon codes and had friends use them to check out for free!
Build More Products & Create a Store Landing Page - Last Step
If you have just one product, stick with the single product page and link it in all your posts, emails, etc. If you’re like me and have lots of digital products you can create a store landing page like this:
I added my store to the navigation bar of my publication so it’s accessible for every visitor.
And, just like that I’ve successfully ditched Gumroad, StanStore, Payhip, Ko-Fi and built a Substack native storefront ecommerce system for FREE. No monthly costs, just the standard processing fees from Stripe.
Now do you see WHY I’M SO EXCITED????
Now it’s your turn.
This post is a step-by-step for people who want to dig in and do it themselves. I can’t wait to see stores popping up all over Substack.
If you need some hand holding, I’ve created a complete DIY Substack store system with Canva templates for listing images, a product database, sample deliverable folders and a complete visual tutorial walking you through all the steps on Substack & Stripe, and setting up the content delivery folders in Google Drive for the automatic delivery.
And if you want to sell directly from Substack but don’t have time to build it yourself, I started a waiting list for custom Substack stores. I’ll create your store page, product pages, set up Stripe, set up your CDS (content delivery system) in Google Drive and it’s yours forever with no monthly fees.
If you found this post helpful, please subscribe. If if would help someone you know, share it. And if you found it insanely helpful, you can show love by making a one time (no subscription!!!) donation below. Yes, I hacked around the “no donation” limitation too. I’ll show you how in my next post.
You just blew my mind 🤯
I am so grateful for this post! You have helped me so much. I'm now off gumroad and have used this method to add a product to my publication. Super excited. Thank you so much, Shannon. 💜🙏